Hardware hacking tutorial: Interfacing with debug ports
August 31, 2017
reversing hardware hacking infosec embeddedThe idea
In the past two post, we’ve seen that we can dump firmware directly from the flash chip, or that we can reverse engineer the firmware found online for our devices.
But why bother, if we have a debug port out in the open?
Let’s try it out.
Used gear
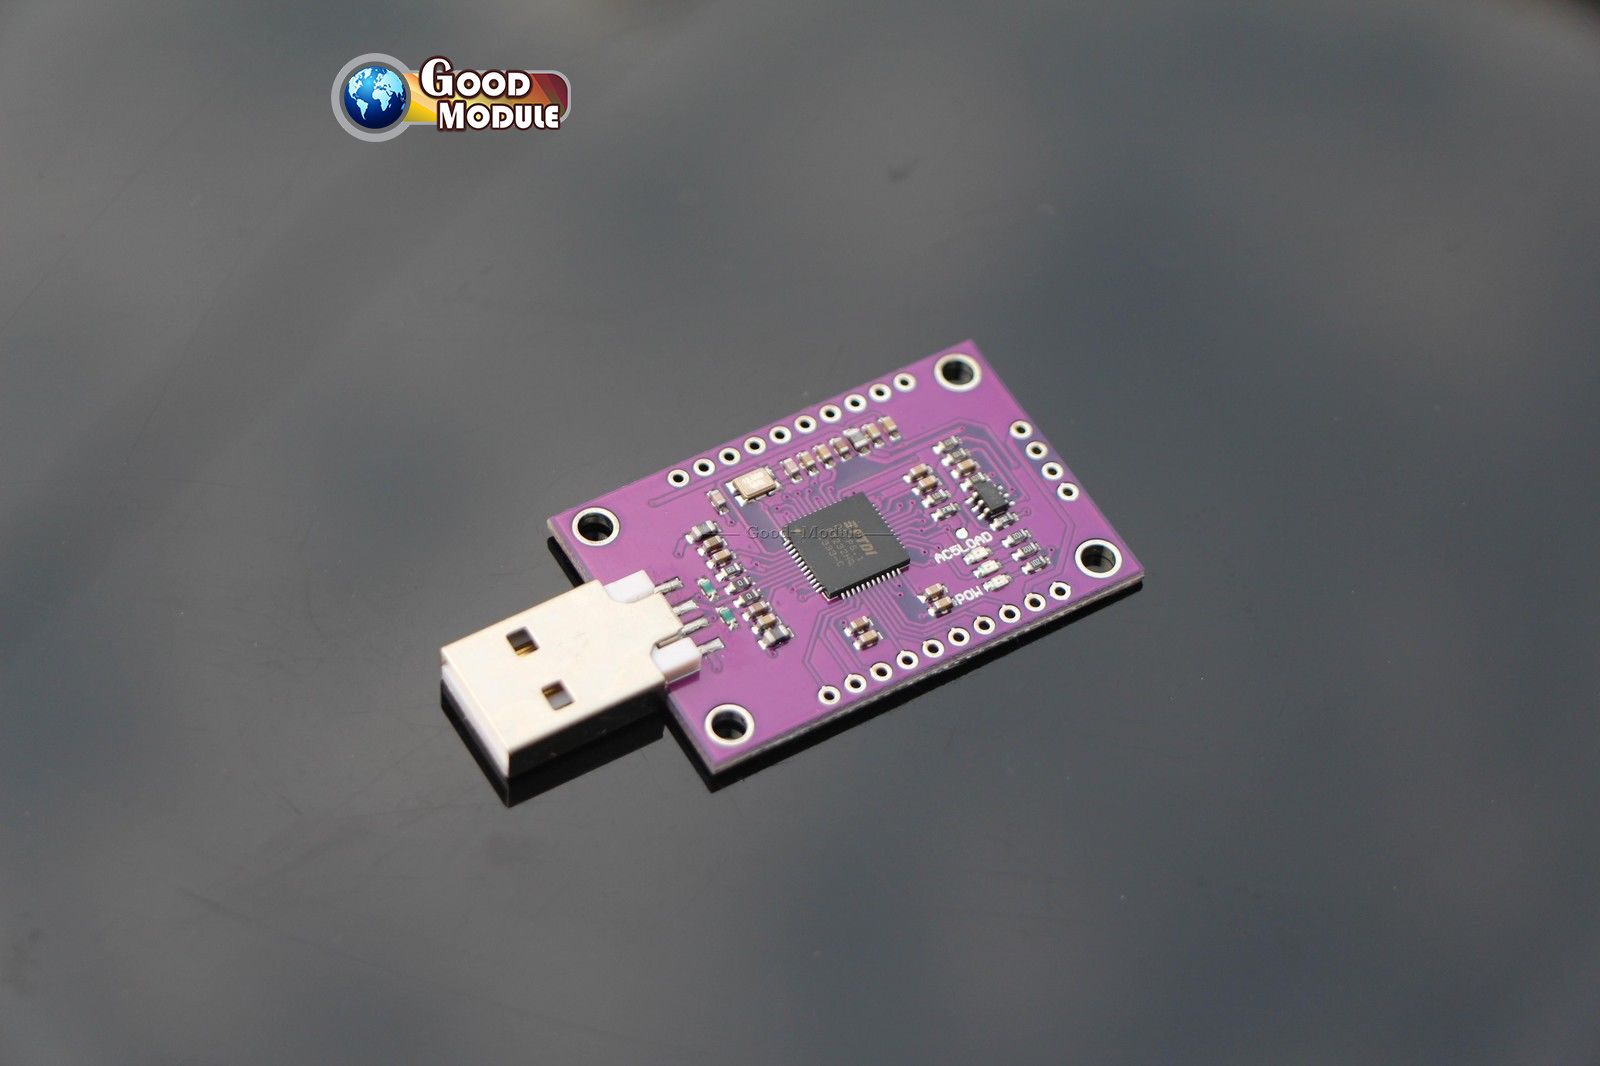
CJMCU-232H
FTDI 232H is a chip made by Future Technology Devices International. CJMCU-232H is a breakout board with a 232H chip integrated which allows users easily use the chip via USB. It can be used to communicate via USB to UART (RS232, RS422 or RS485), FIFO, JTAG, SPI, I2C, Bit-Bang and many more. It will be used it for UART and JTAG communication with attacked devices.

Image taken from: Ebay
Target
The target will be the Ubiquiti mFi mPort. It will be disassembled to find possible debug ports, and connected to, using the CJMCU-232H.
Finding the debug ports
First, the housing that holds the mFi mPort needs to be taken apart

Right away a header can be seen with four pins soldered on the PCB of the device. With a little trial and error, it can be determined which pins are for power, and which are for receiving and transmitting.
Interfacing the UART port with the CJMCU-232H
Unlike SPI, UART is really simple. The receiving pin of the device is connected to the transmitting pin of the CJMCU-232H and vice versa. Then it needs to be connected to common ground, and if the device has to be powered through the CJMCU-232H, or vice versa, the appropriate power pin needs to be connected, in this case 3.3 volts.

In this case, since the mFi needs a lot more ‘juice’ than the CJMCU-232H can provide, and a Power over Ethernet (PoE) adapter along with an ethernet cable needs to be used to provide 24 volts and 0.5 amps to the board. The analog pin 0 and 1 on the CJMCU serve as the dedicated transmit (TX) and receive (RX) pins for serial communication, respectively. After connecting them with the RX and TX pins on the board and the setup is ready to go.
Gaining shell access and exploiting
Now that everything is connected, a terminal window can be opened, along with a serial connection using the GNU/Linux software screen. That can be done by running the command screen /dev/ttyUSB0 115200.
The first parameter is the USB interface of the CJMCU-232H, found at /dev/ttyUSB0. The second is the baud rate, with 115200 bauds being the most common used speed. A baud is a unit of transmission speed, it corresponds to the number of times a signal changes it state per second

After connecting to the serial port, the screen says to press Enter to activate the console, after which it asks for credentials.
The best bet is to try the default credentials, which are easily found online. For Ubiquiti (abbreviated: UBNT), the credentials are very easy to guess even without searching online, they’re ubnt (both username and password, like admin:admin).
And a root shell is available! Since it’s impossible to physically take apart and connect to every router that a malicious a user wants to attack, he/she can look for something that would allow remote control, like private keys or vulnerable points of the system.


The passwords in the etc/passwd files, both root and user are easily obtained, along with some server private keys and certificates.

Looking up the certificate online, it can be determined that the owner is Ubiquiti Networks.

It can also be determined that the private key and the certificate match, and that the private key is actually a private SSL key for Ubiquiti Networks.
